

December 5, 2024
Tools and Materials Needed Hanging a door may seem like a daunting task, especially for those who have never attempted it before. However, with...

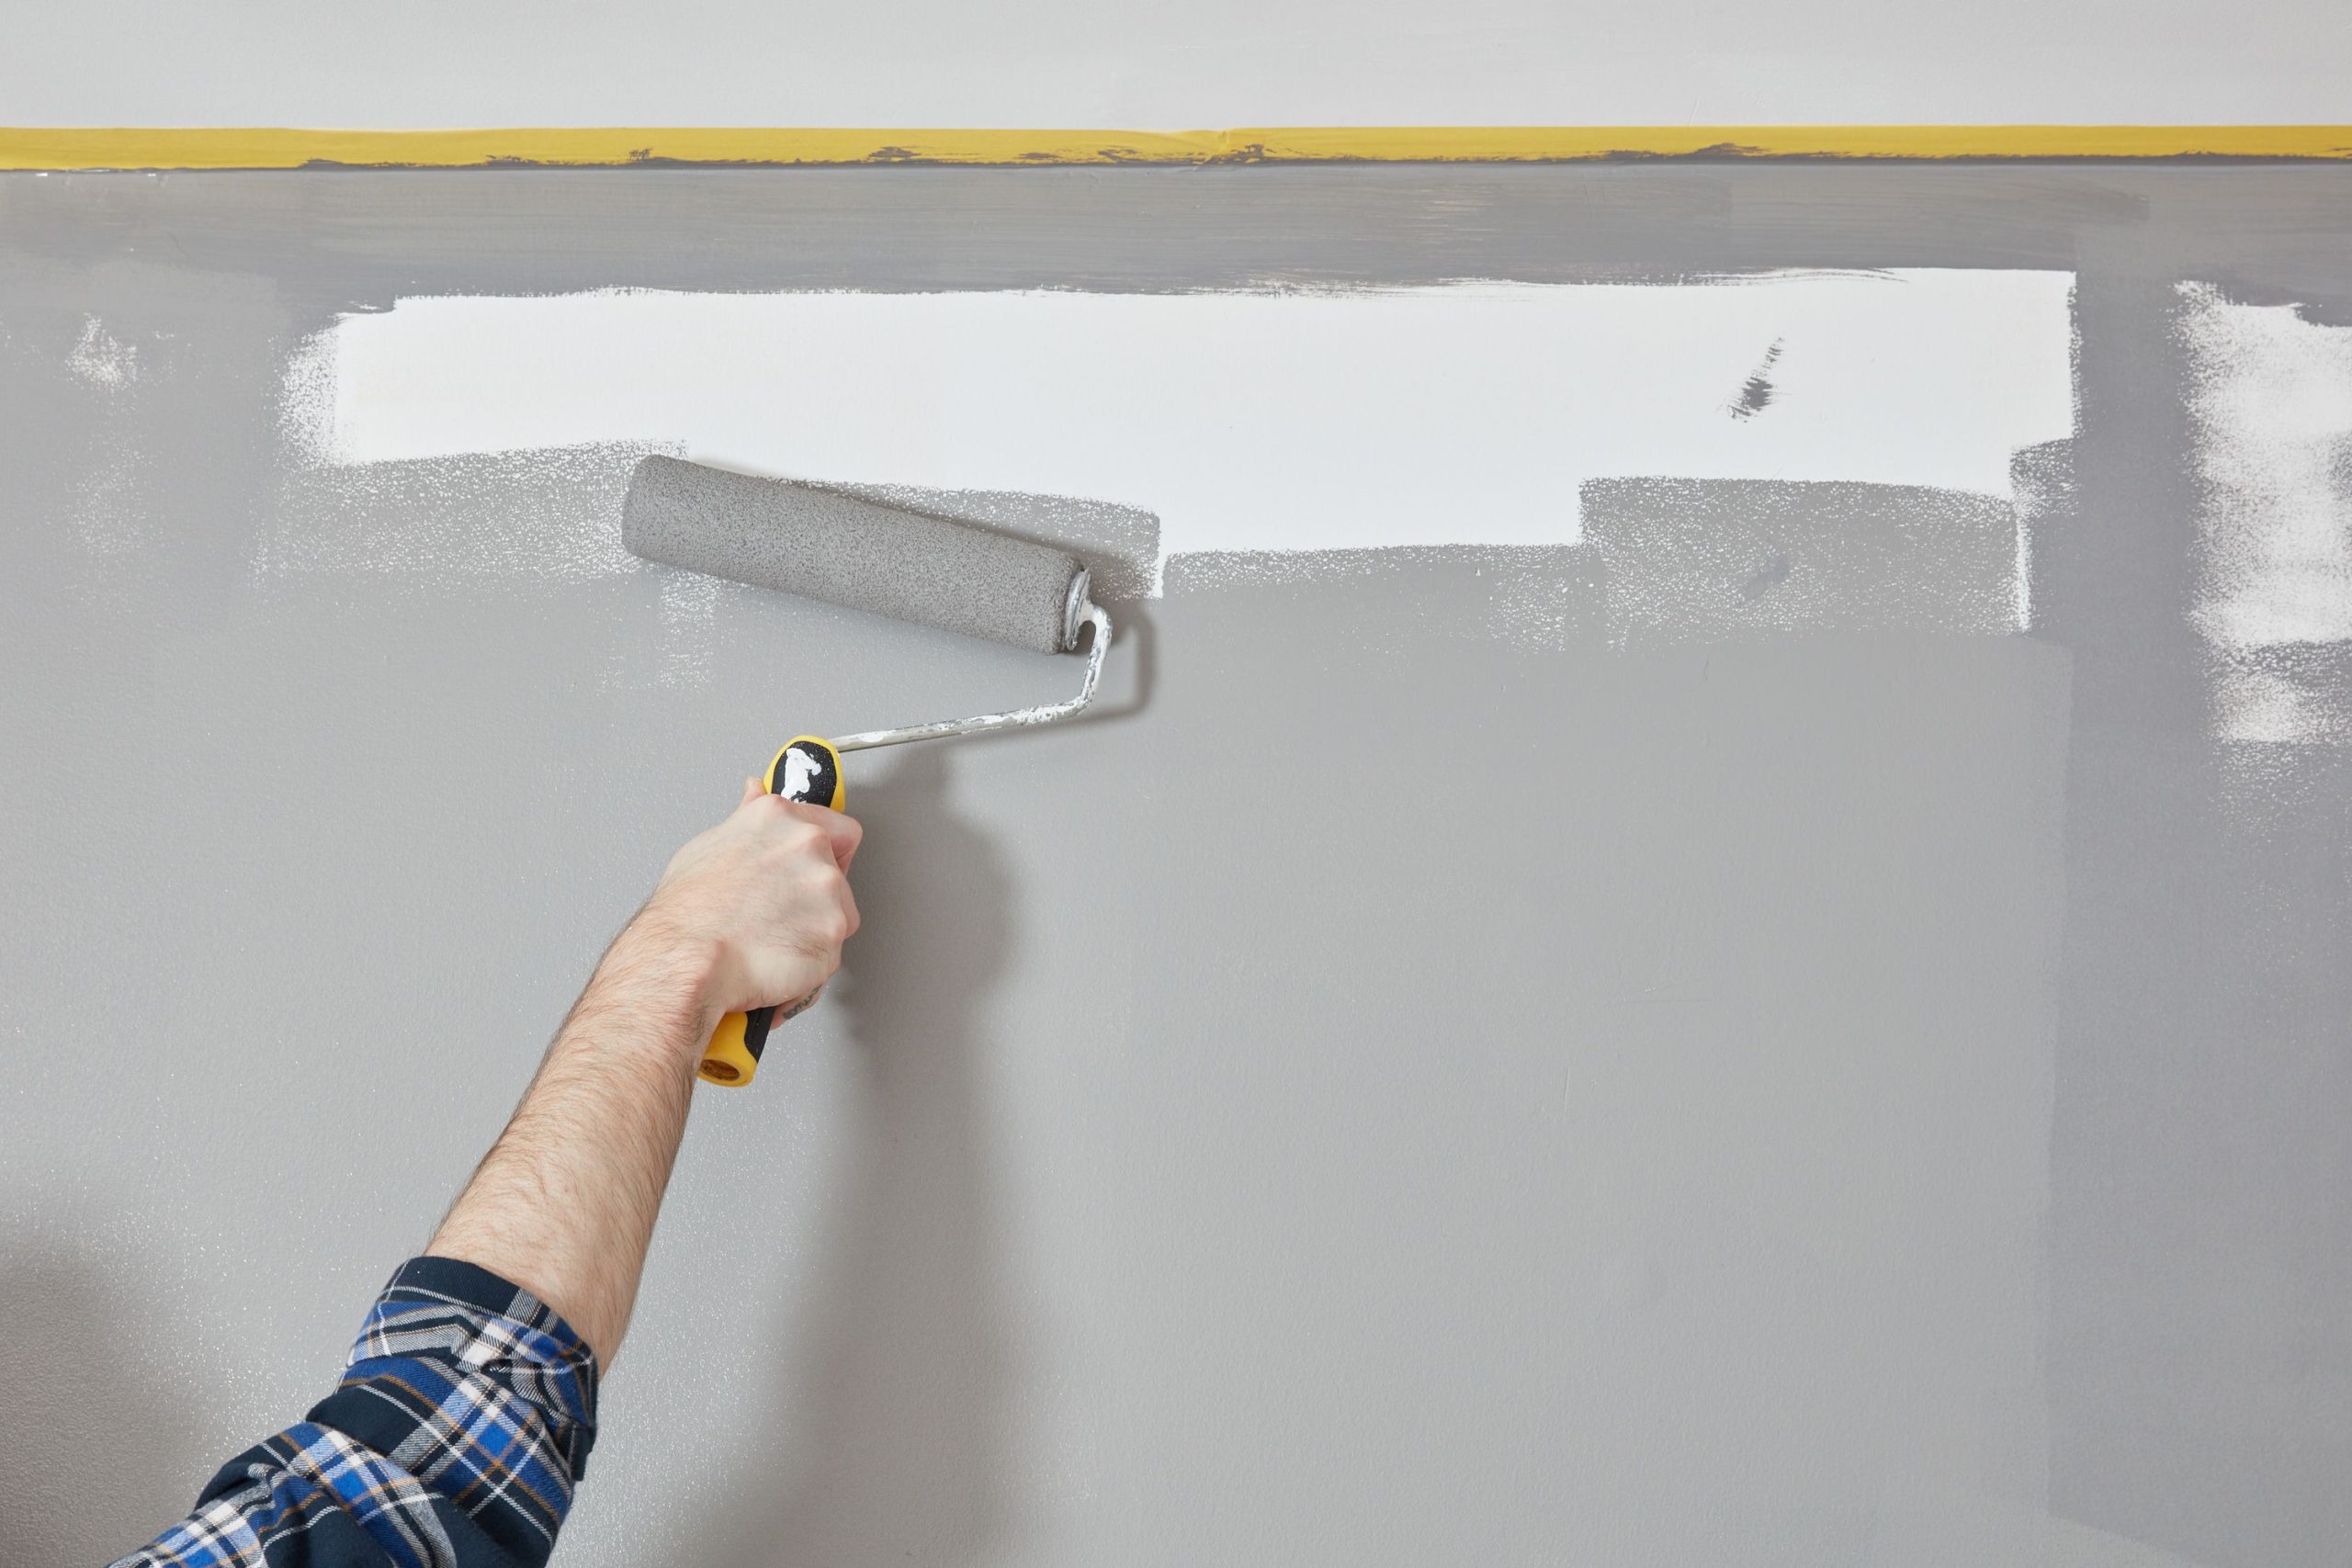
Painting a room can be a rewarding DIY project that transforms your living space. Whether you’re refreshing an old color or trying something new, following a systematic approach will help ensure you achieve a professional-looking finish. Here’s a step-by-step guide on the best way to paint a room.
Choosing the right paint color is crucial. Start by visiting your local paint store to collect swatches of colors that appeal to you. Once you have a few options, request small samples and apply them in 12-inch squares on different walls in the room. Observe how they look at various times of day and under different lighting conditions before making your final decision.
Before you begin painting, gather all necessary supplies to make the process smoother. You will need:
Preparation is key to achieving great results:
Use painter’s tape to mask off edges around windows, doors, baseboards, and any areas where you don’t want paint to go. This will create clean lines and prevent smudging.
If you’re painting over a dark color or stained surfaces, applying a primer can help achieve better coverage with fewer coats of paint. Use a primer that suits your specific needs (e.g., stain-blocking for water stains).
Once you’ve finished painting:
Let the paint dry completely before moving furniture back into place or hanging decorations again—this usually takes several hours but check manufacturer instructions for specific drying times.
By following these steps carefully—from selecting colors to cleaning up—you can achieve beautiful results when painting a room yourself. The key is preparation and patience; take your time during each phase for optimal outcomes.
1. Benjamin Moore
2. Sherwin-Williams
3. Home Depot
Tools and Materials Needed Hanging a door may seem like a daunting task, especially for those who have never attempted it before. However, with...